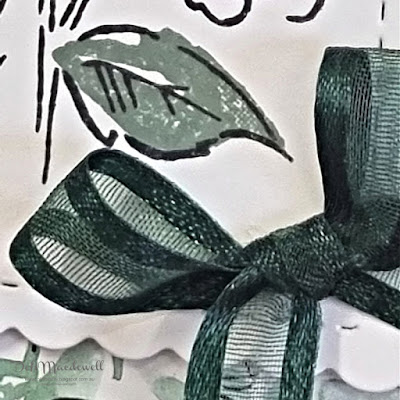
When you are thinking about making a card, do you ever think to use your DSP with dies? If you want to change things up a bit it can be a good option!
I didn't want to have too much DSP showing as it is a fairly busy pattern and could easily overshadow the stamped image. I also didn't want too many layers or too much of the card base showing. Using the Scalloped Contours Dies was the answer for me. It shows a little of the DSP but because of the loopy/lacy edges it covered a large enough area without overpowering the stamped image.
Card Measurements
Card base: 29.7cm x 10.5cm scored at 14.9cm and folded
1st layer: 14.5cm x 10cm
2nd layer: 9.5cm x 6.5cm
Inner layer: 14.5cm x 10cm
Scrap DSP for inside
Instructions
- Die cut 1st layer using Scalloped Contours
- Adhere 1st layer to front of card base
- Stamp image on 2nd layer
- Die cut 2nd layer using Scalloped Contours
- Adhere 2nd layer to 1st layer using dimensionals
- Die cut scrap DSP for inner layer
- Adhere DSP to inner layer
- Adhere inner layer to inside back of card base
- Adhere bow to 2nd layer using glue dots
- Adhere Genial Gems to 2nd layer


No comments:
Post a Comment
Thank you for taking the time to leave a comment on my blog, it is most appreciated!